(877) 210-6361(877) 210-6361(877) 210-6361
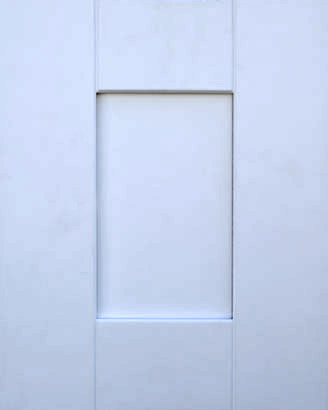
 |
 |
 |
 |
 |
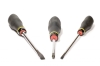
| Flathead / Philips Screwdriver Required Tool |
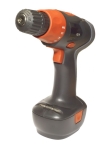
Electric Screwdriver Recommended Tool |
Rubber Head Hummer Recommended Tool |
3/4" Staples Gun Recommended Tool |
Hot Glue Gun Recommended Tool |


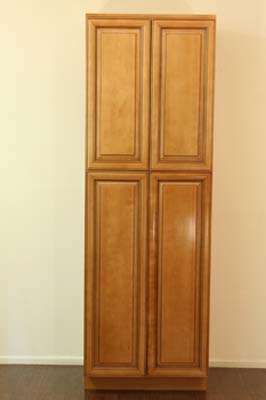
It is best to re-install the doors after the installation of all cabinets. Otherwise, doors might be damaged during the assembly and installation.
Remove the doors and the drawer face in order to prevent damage during the assembly and installation process.
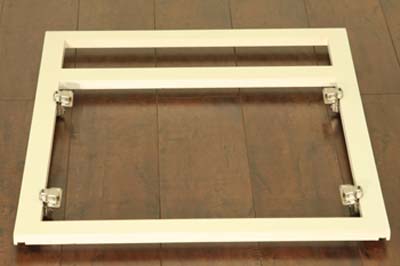
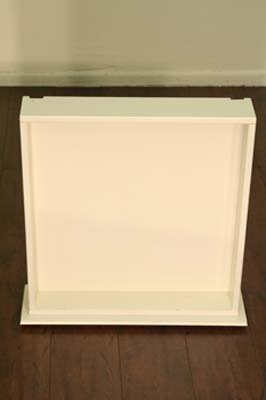
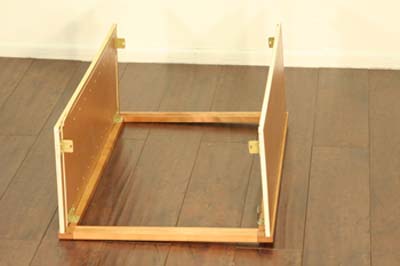
Place both side panels into the grooves of the face frame. Make sure to align the metal clips properly (two on each side).
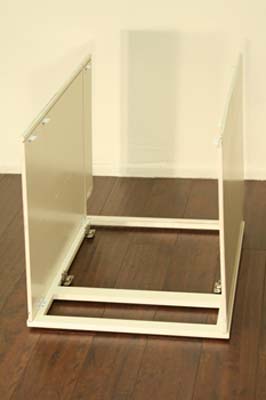
Slide in the bottom panel into the grooves of the side panels and the face frame.
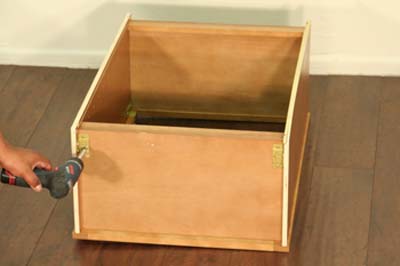
Secure all clips using the supplied screws.
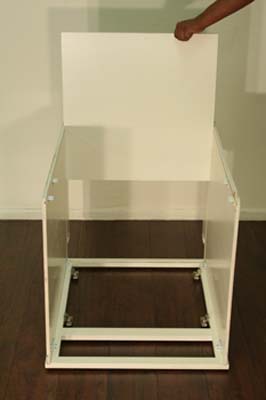
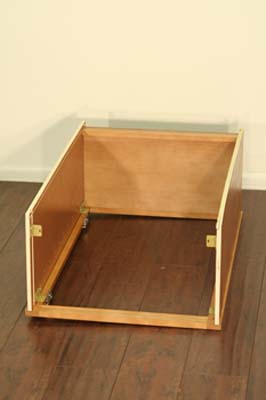
Place the back panel in its' place (make sure all the clips are aligned properly) and secure it.
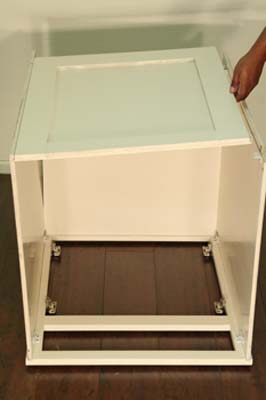
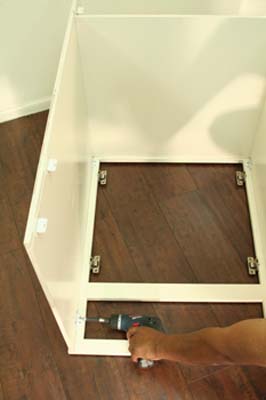
Place the toe kick panel and secure it with the metal clips.
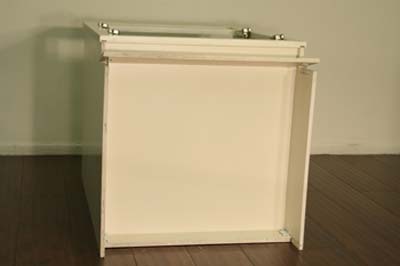
Attach the supplied plastic corner brackets using screws.
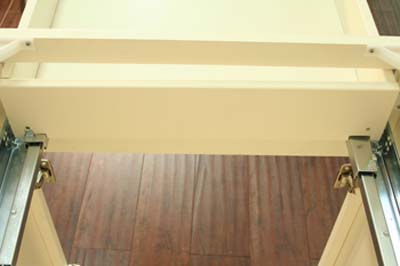
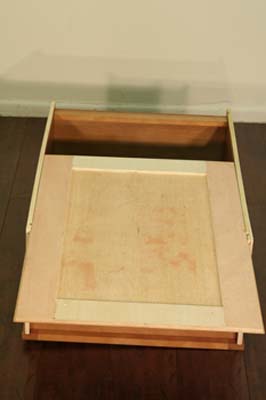
Secure the drawer glides holds to the back panel using the pre-drilled holes for alignment.
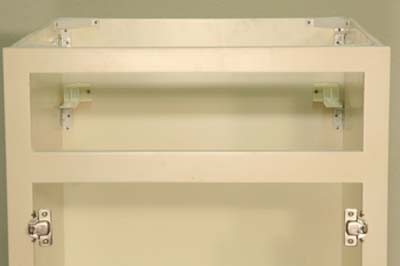
Connect the drawer glides to the drawer glides holders.
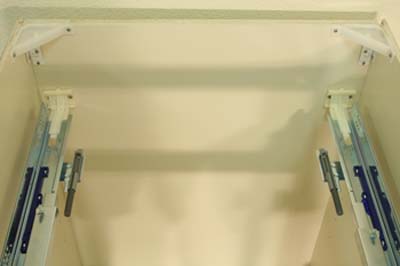
Connect the front of the drawer glide to the face frame. Use any of the pre-drilled holes for alignment.
Connect the drawer's side panel to the back panel. No screws are needed.
Connect the other side panel and slide in the bottom panel into the grooves.
Connect the face frame to the drawer.
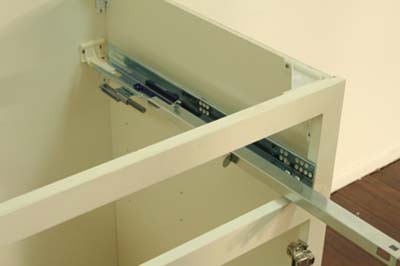
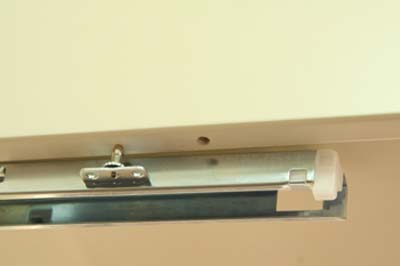
Place the drawer on the drawer glides. Insert the back drawer holder into the pre-drilled hole in the drawer as shown on the left side of the photo.
Insert the drawer glide pin into the pre-drilled hole on the bottom of the side panel. Use the sheave on the bottom of the pin for adjustments and alignments.
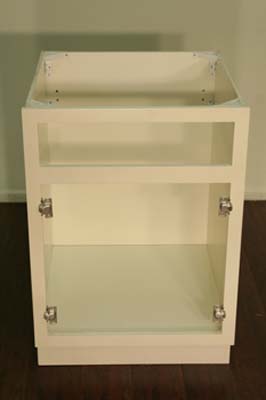
Place the bottom shelves using the supplied shelves holders.
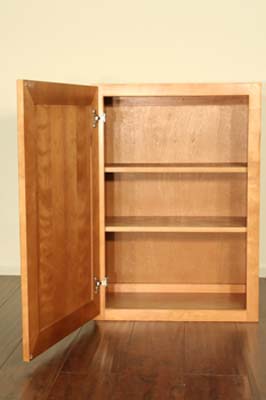
Remove the doors from the face frame in order to prevent damages during the assembly or the installation process.
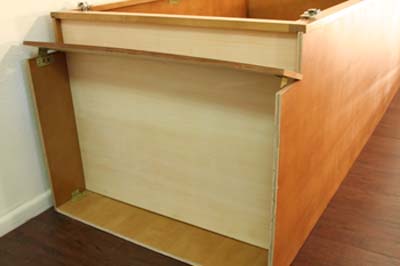
Place the side panel into the grooves of the face frame. Make sure all metal clips are aligned properly and that the toe kick area (on the right side of the panel in the photo) is facing to the bottom of the cabinet (where the big opening is).
Make sure all the metal clips are secured properly using the supplied screws.
Repeat the last two steps with the other side panel.
Slide in the middle divider followed by the top and bottom panels into the grooves of the face frame and the side panels. Make sure all the metal clips are aligned and secured.
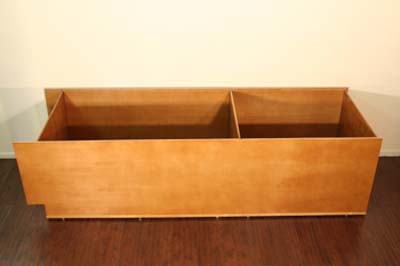
Place the back panel into the grooves of the side panels. Make sure ALL the metal clips are aligned and secured.
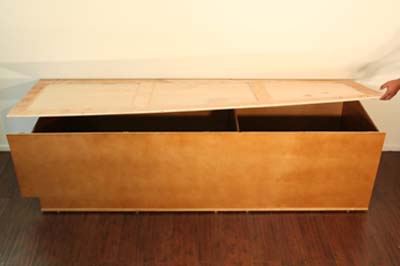
Place the toe kick panel and secure it using the screws of the metal clips.
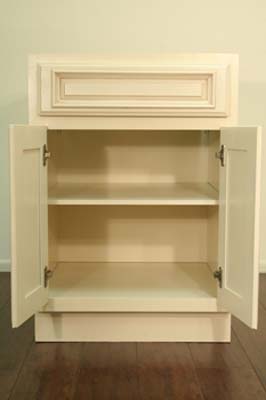
Place and adjust all the shelves using the supplied shelves holders.
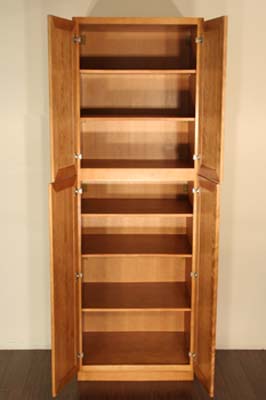
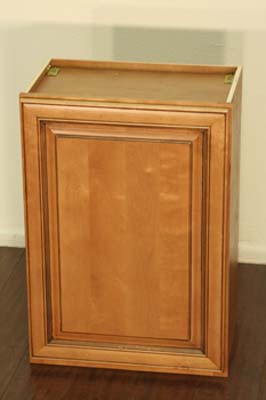
Congratulations, your cabinet is ready.
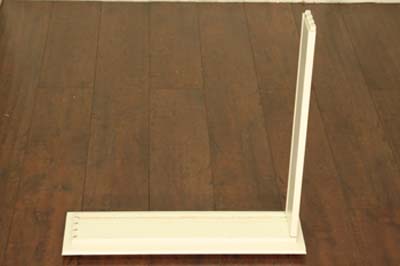
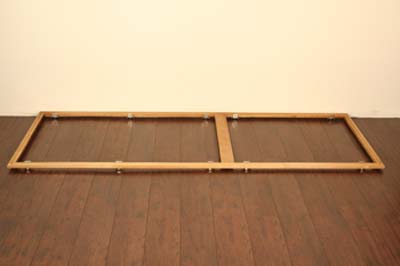
Locate the face frame.
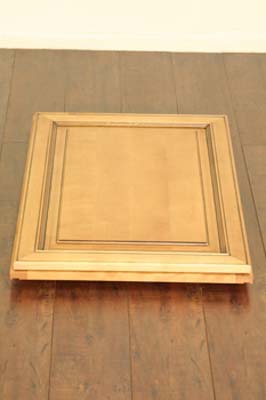
Remove the door in order to prevent damages during the assembly or the installation process.
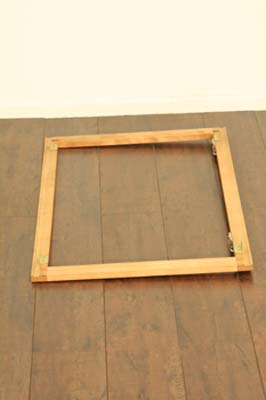
Secure the side to the frame by using a staple gun (3/4'' Deep by 1/4'' Wide staples are recommended).
Staple the side every 6''.
Repeat the last step with the other side panel.
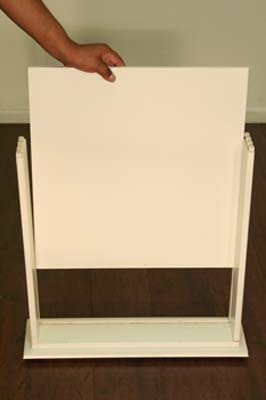
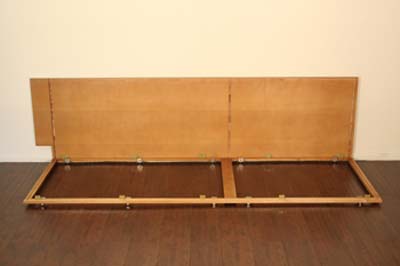
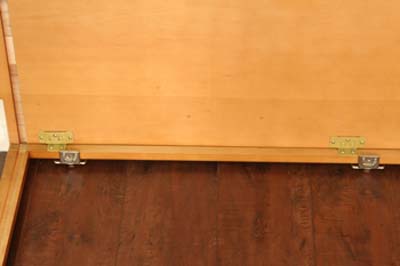
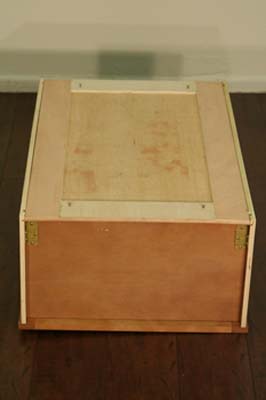
Place the bottom panel into the grooves and secure the metal clips on the bottom of the cabinet.
Place the top panel into the grooves of the face frame and secure the metal clips on the top of the cabinet.
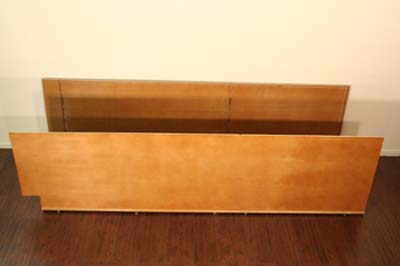
Slide in the back panel into the grooves in the side panels.
Secure the back panel using four screws in the pre-drilled holes.
Place the shelves using the supplied shelves holders.
Congratulations, your cabinet is now ready.
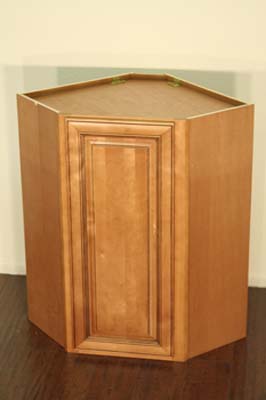
Locate the face frame.
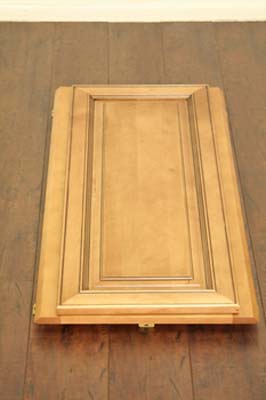
Remove the door in order to prevent damages during the assembly or the installation process.

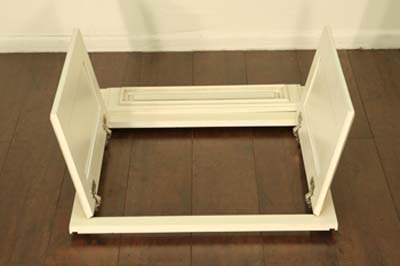
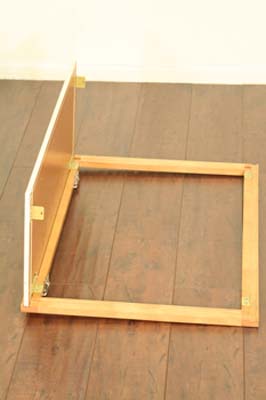
Connect the front side panel into the face frame using the grooves in the face frame. The metal clips will secure and hold the front side panel in 45 degrees angle.
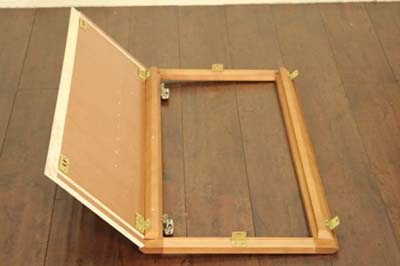
Repeat the last step with the other front side panel.
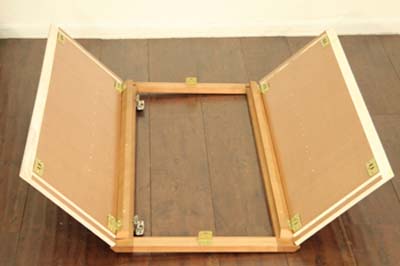
Place the top panel and bottom panel into the grooves of the face frame and the front side panels. Secure them using the screws of the metal clips.
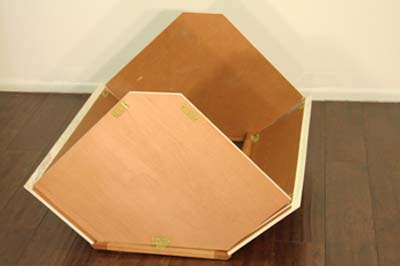
Place the back side panel into the grooves of the top and bottom panels and secure it using the screws of the metal clips.

Repeat the last step with the other back side panel.
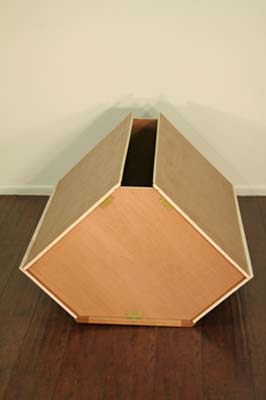
Slide in the back panel into the grooves of the back side panels.
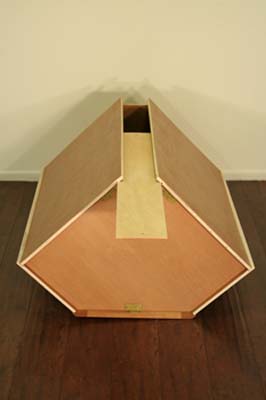
Secure the back panel using two screws in the pre-drilled holes.
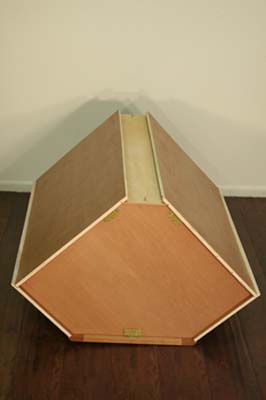
Place the shelves using the supplied shelves holders.
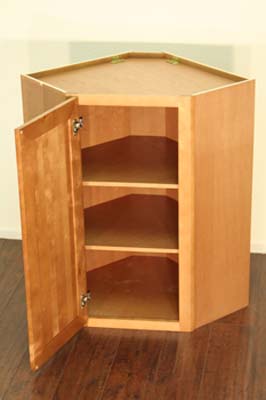
Congratulations, your cabinet is now ready.